从部署上做到前后端分离

从部署上做到前后端分离

记得在让Nodejs支持H5 History模式(connect-history-api-fallback源码分析)一文中提到了HTML5History Mode。然而在最近的使用过程中发现connect-history-api-fallback这个包效果并不是那么理想,用一段时间就会报错。而且本身我的博客项目前后端并未完全分离,虽然开发时是独立的工程,但是前端工程打包后还是放在了express的静态资源文件夹下进行部署。考虑到这两个痛点,我决定在nginx配置中对前后端进行部署分离。

前端独立部署

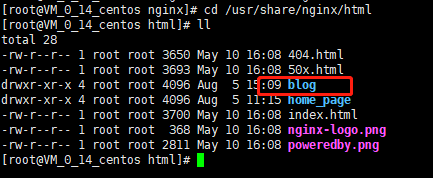
前端工程npm run build打包后,不再copy到后端工程public目录下。而是独立部署在nginx的静态资源目录下,我放置的目录是/usr/nginx/share/html/blog

1564989575700

相关nginx配置如下:

1
2
3
4
5
6
7
8
9
10
11
12
13
#博客转发 blog.wbjiang.cn
server {
listen 80;
server_name blog.wbjiang.cn;
root /usr/share/nginx/html/blog;
access_log logs/blog.log;
error_log logs/blog.error;

#博客静态文件
location / {
try_files $uri /index.html;
}
}

小建议:可以在开发新功能完毕后,就将打包完毕的代码提交到仓库的release分支,然后直接在linux服务器上对应目录下的Git仓库中git pull,也算是半自动化部署了(后面也准备研究下全自动化部署)。

后端接口转发

blog.wbjiang.cn/api前缀的视为接口请求,统一转发到express后台服务。配置如下:

1
2
3
4
5
6
7
8
9
10
#api转发
location /api {
proxy_pass http://blog_pool;
proxy_http_version 1.1;
proxy_set_header Host $host;
proxy_set_header X-Forwarded-For $proxy_add_x_forwarded_for;
proxy_set_header Upgrade $http_upgrade;
proxy_set_header Connection "upgrade";
rewrite ^/api/(.*)$ /$1 break;
}

负载均衡池配置(虽然只有一个服务,手动“狗头”)

1
2
3
upstream blog_pool{
server 127.0.0.1:8002;
}

重启服务

pm2重启

1
pm2 restart blog

nginx重启

1
nginx -s reload

扫一扫下方小程序码或搜索Tusi博客,即刻阅读最新文章!

Tusi博客

You forgot to set the qrcode for Alipay. Please set it in _config.yml.
You forgot to set the qrcode for Wechat. Please set it in _config.yml.
You forgot to set the business and currency_code for Paypal. Please set it in _config.yml.
You forgot to set the url Patreon. Please set it in _config.yml.
Your browser is out-of-date!

Update your browser to view this website correctly. Update my browser now

×